Slow stitches
Hand embroidery is, by nature, a slow process and it is by working through this process that I am able to create in a mindful way. I become aware of the way in which the needle moves through the fabric and the method by which each stitch is formed and I notice the colours and textures of the threads and fabric that I am using. By physically engaging with my embroidery as it is made, I come to feel a connection to it.
Working repetitive stitches encourage a feeling of calm
The repetitious and rhythmic nature of hand embroidery also creates a calming and reflective state of mind. In this way, hand embroidery becomes a form of mindful meditation focusing my attention on the process of embroidering rather than just the outcome.
I find that by using very simple stitches in a repetitive way I can make the most of the meditative effects of embroidery as well as creating pleasing effects on the fabric. There are only a few stitches that I return to consistently. I have picked out seven stitches to look at here although I will often only use two or three stitches in any one piece of work.
Seed stitch
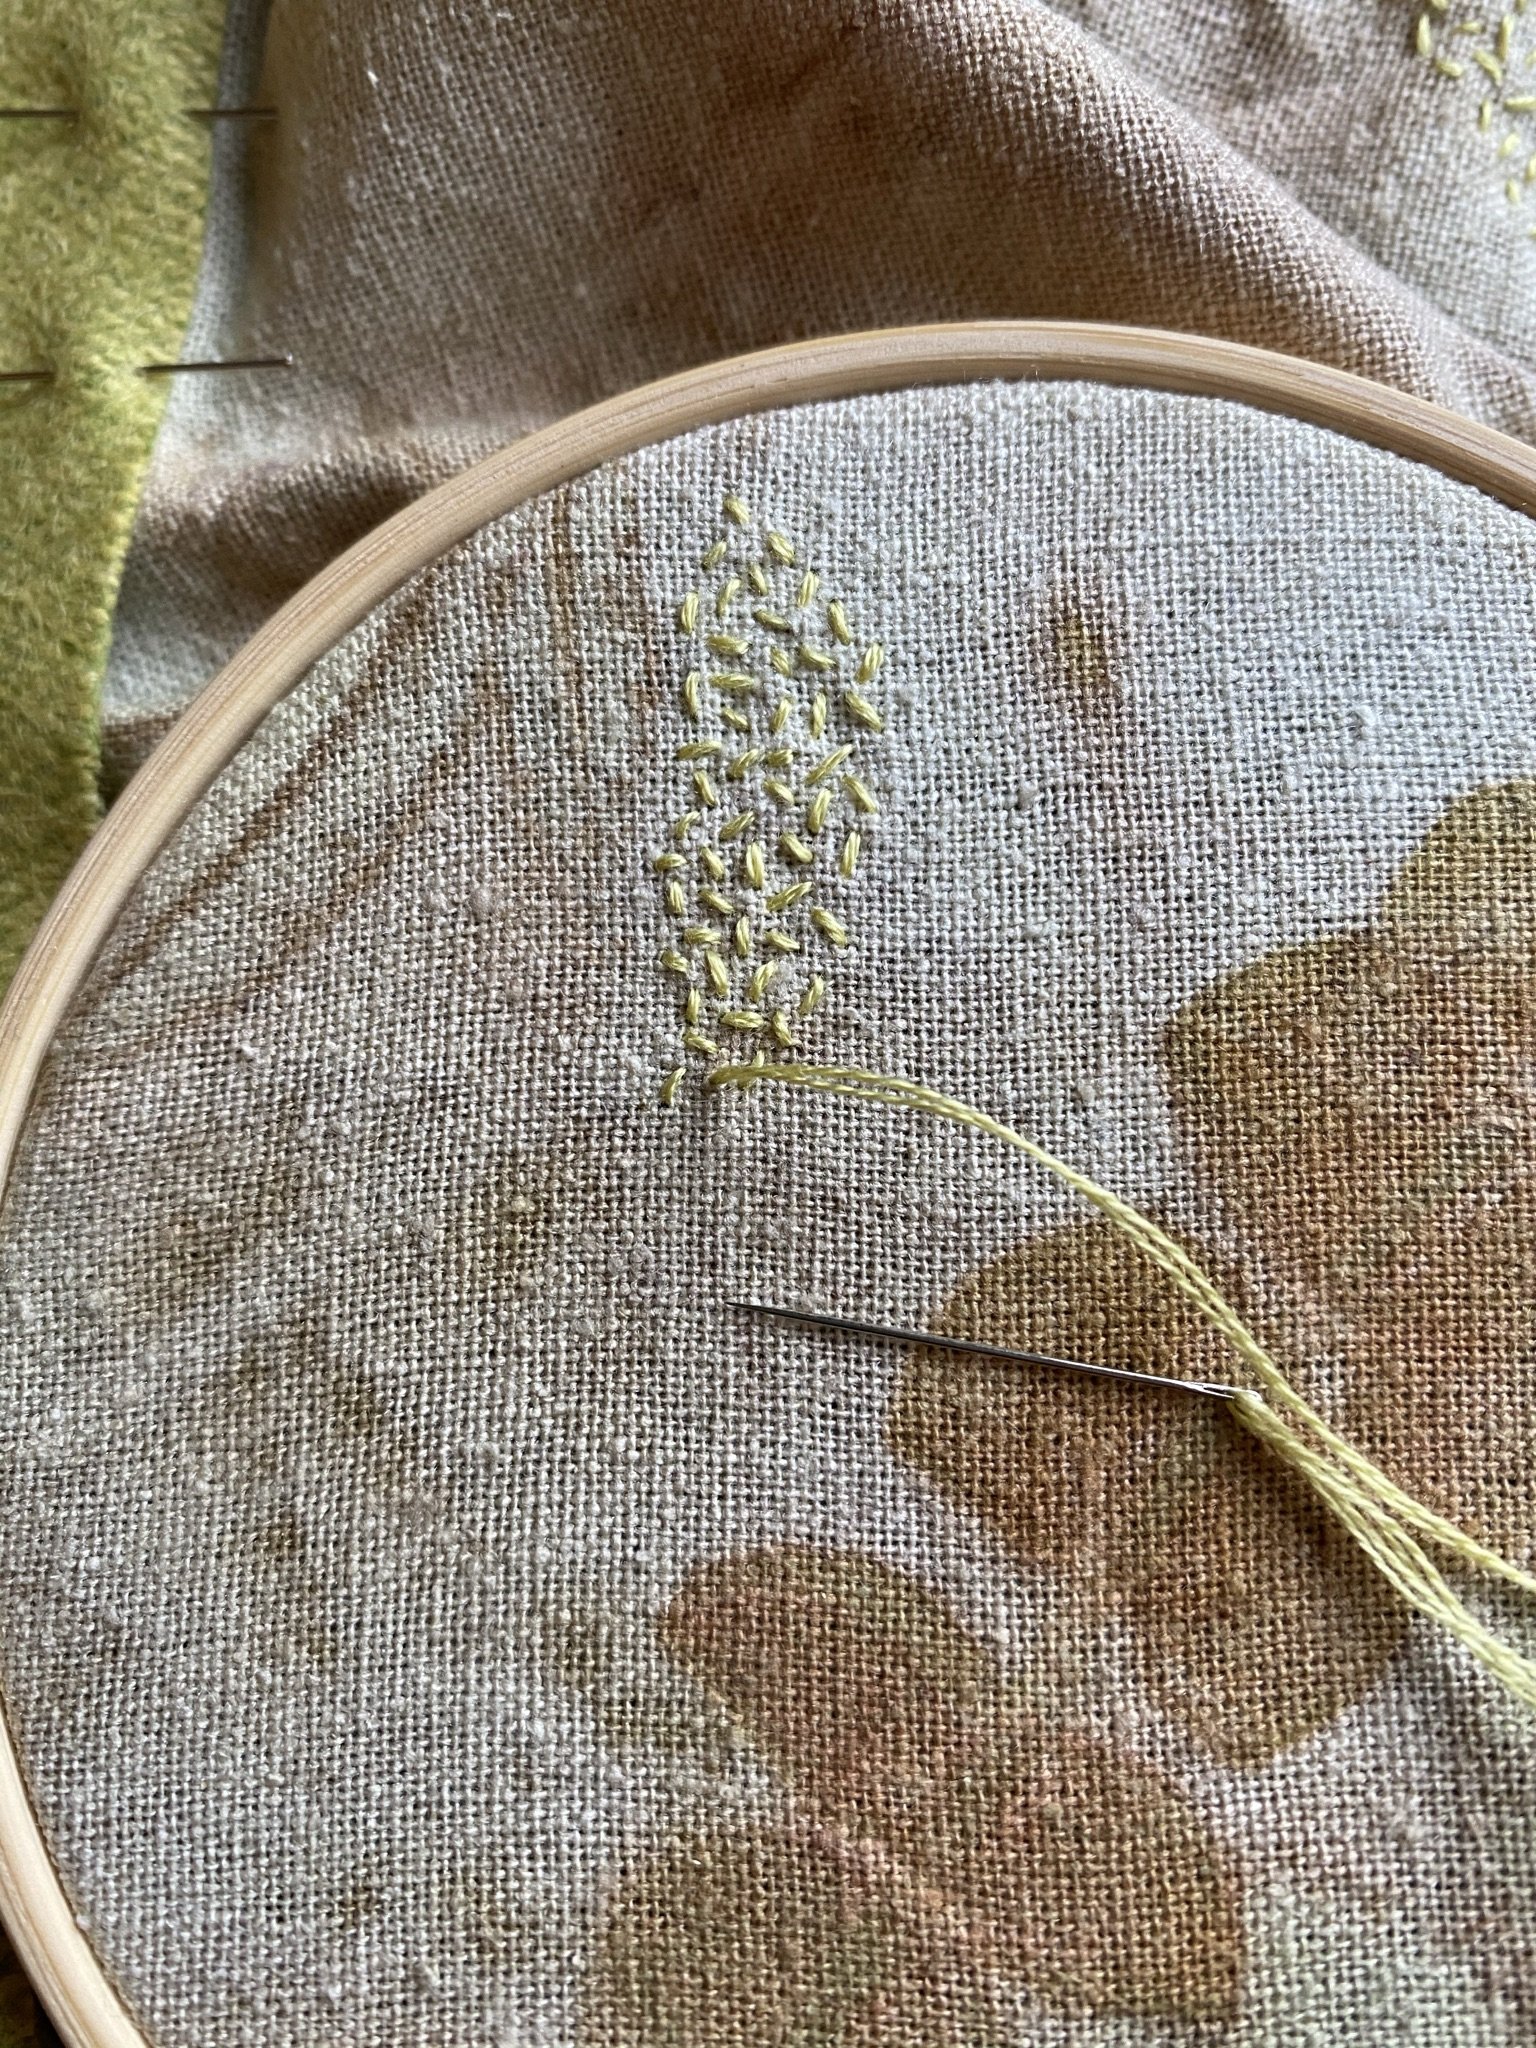
Working seed stitches over dyed fabrics
Seed stitch is an easy filling stitch. It is made with tiny straight stitches facing in different directions to give a random appearance. I like to use seed stitch to fill quite large areas with texture.
Detached chain stitch
Diagram of detached chain stitch
Detached chain is a useful filling stitch, often used to form petal and leaf shapes.
To work it, pull the needle up through the fabric and pass it back down through the same hole, leaving a loop on the surface of the fabric. Decide on the length of stitch that you would like to make and pull the needle up through the fabric the desired distance from your loop, making sure to pass the needle through the loop on the surface. Pull through any excess thread until the loop lies flat on the surface of the fabric. Pass the needle down through the fabric just the other side of the loop to form a small straight stitch which will secure the loop to the fabric.
Running stitch
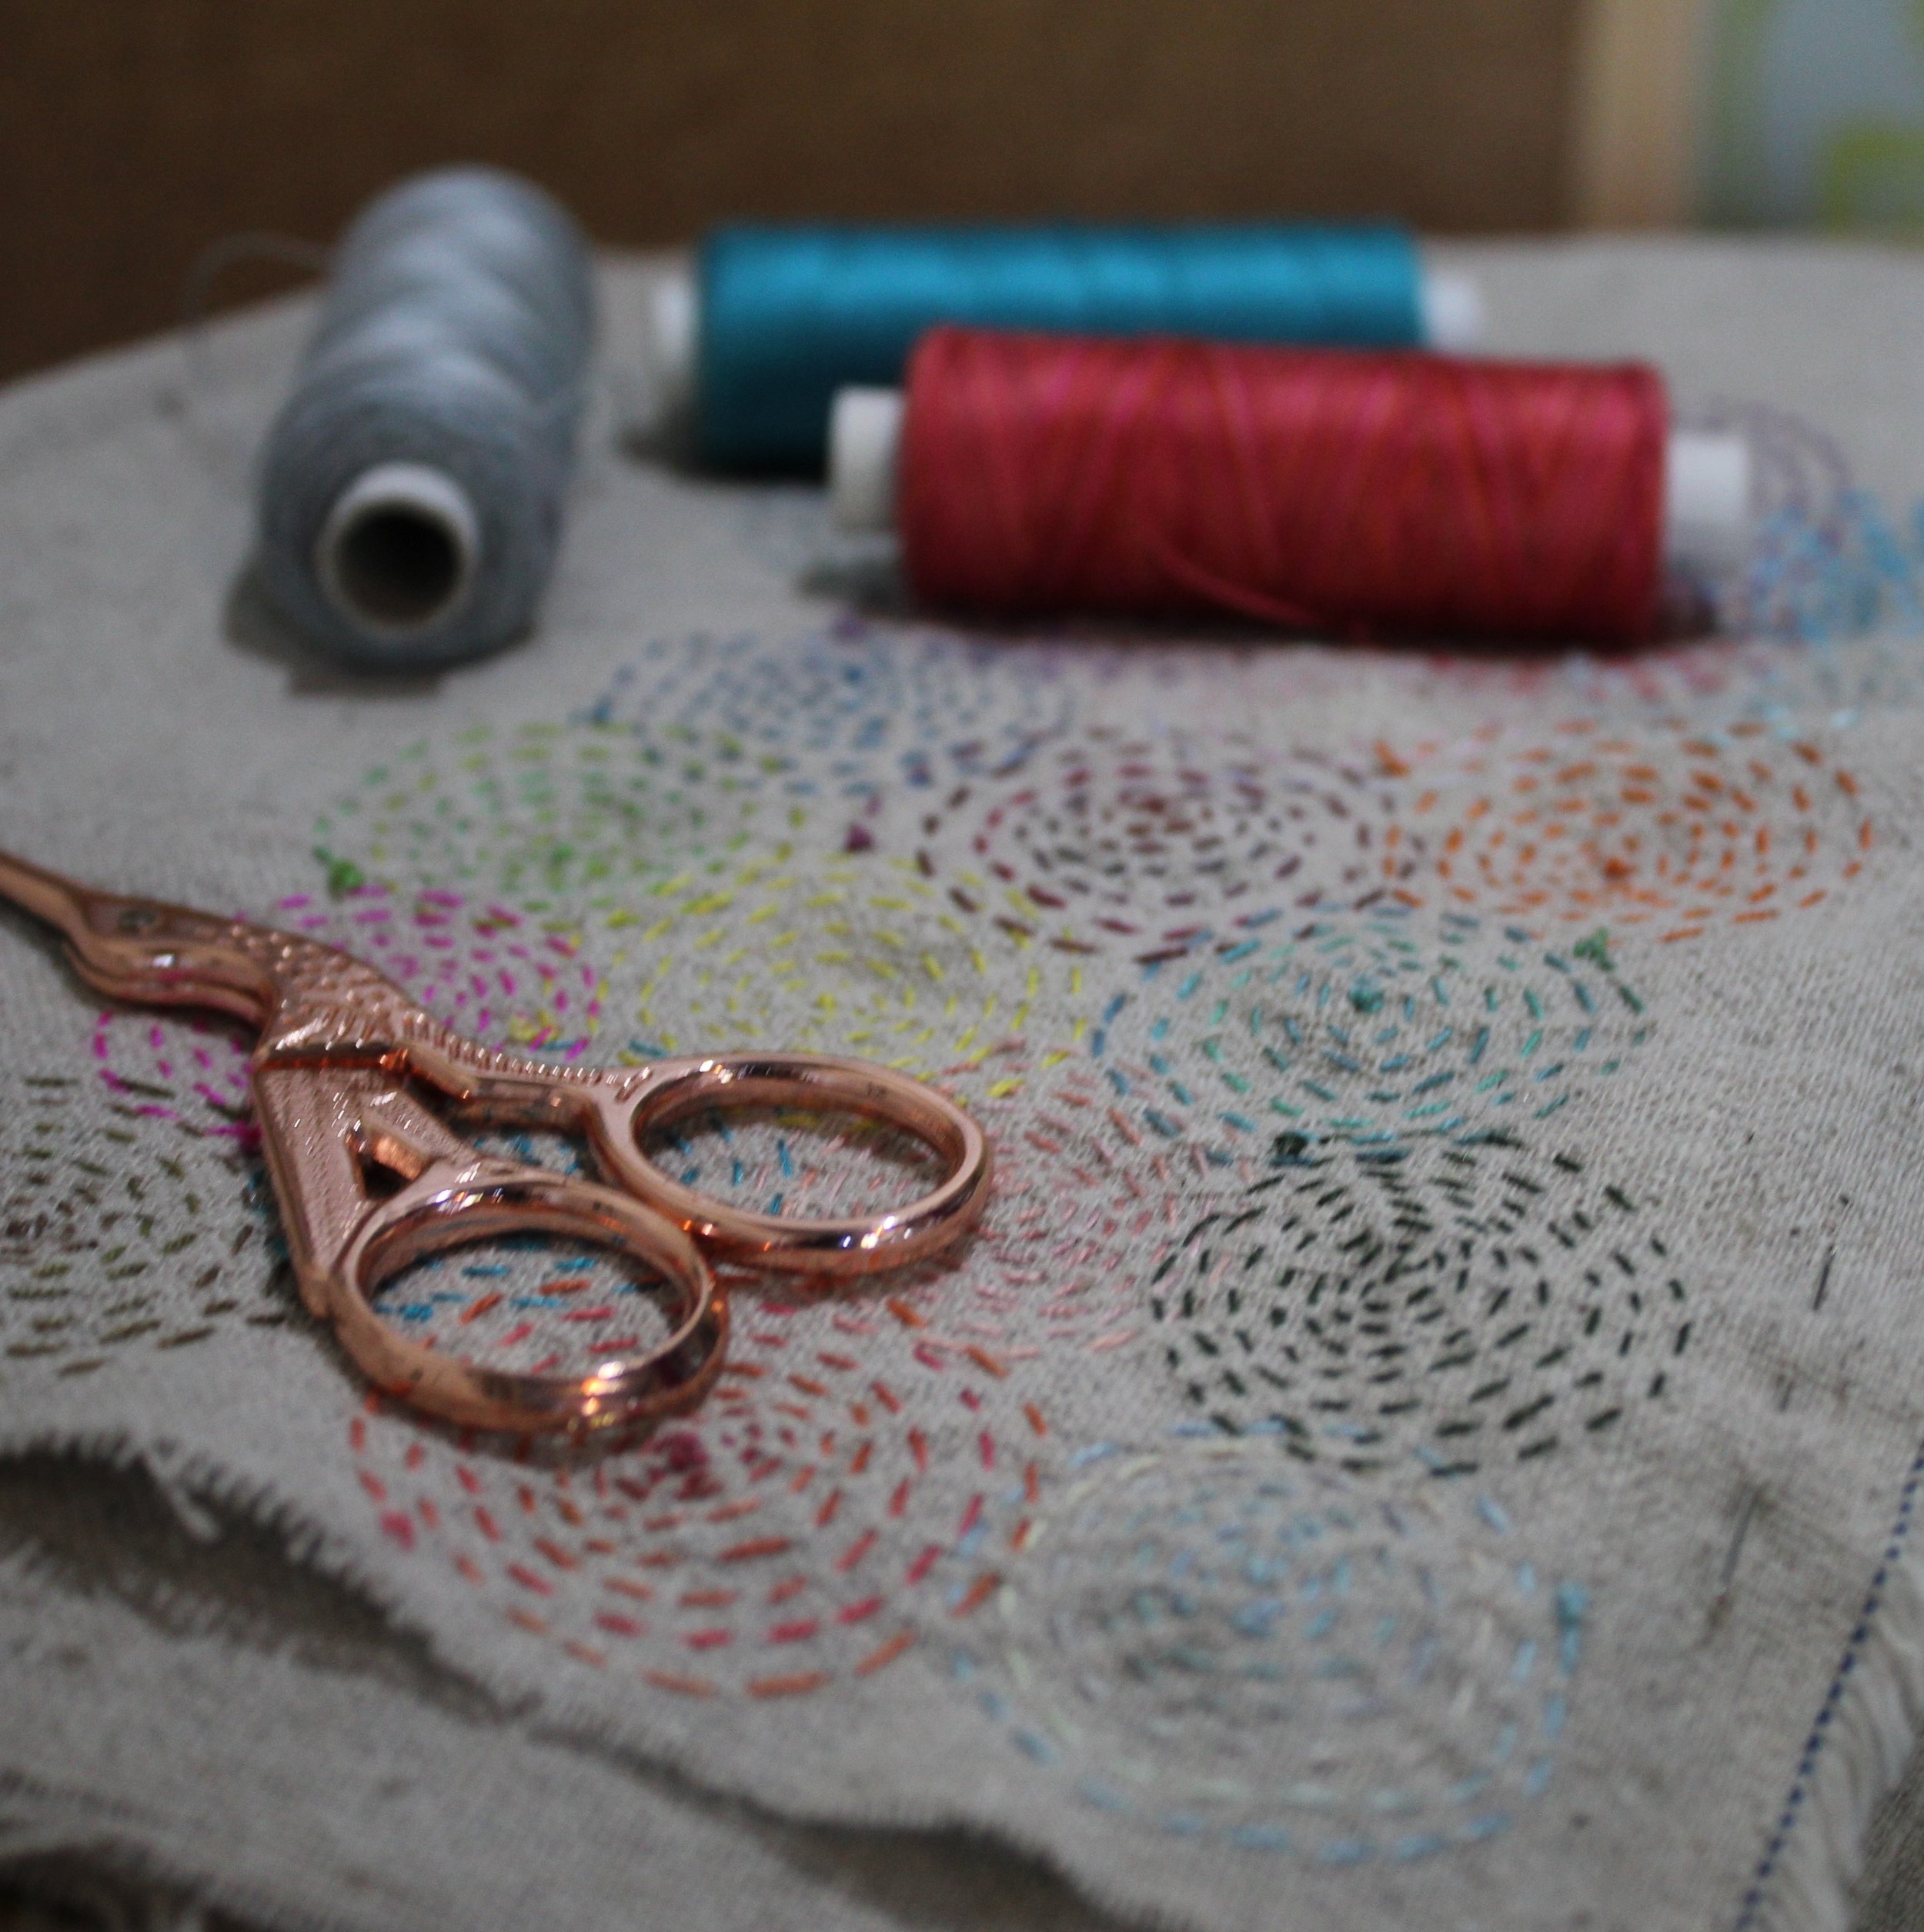
Working running stitches in a circular pattern
Running stitch is the simplest and most basic stitch. It is an easy outline stitch and can also be used to create kantha style embroidery.
Pull the needle up through the fabric. Decide on the length of the stitch that you would like to make and pass the needle back down through the fabric. Continue to pass the needle up and down through the fabric leaving a gap between each stitch. Try to keep all your stitches the same length with a consistent distance between them.
French knots
Diagram of French knot stitch
French knots are surface stitches used to give a dotty effect.
Pull the needle and thread through the fabric at the desired point. Wrap the thread around the needle twice. Hold the thread taut, but not tight, and pass the needle back through the fabric close to where it emerged. Pull through any excess thread to form a single french knot.
Couching
Couching used to ‘draw’ leaves
I use couching to create fluid ‘drawn’ lines of stitch. It uses two strands of thread, one lies on the surface of the fabric and the other is used to attach it.
Place the first thread on the surface of the fabric at the desired point. Use this thread to ‘draw’ your design on the surface of the fabric. Pull the needle and second thread through the fabric at the base of your design. On one side of the first thread. Take the second thread over the top of the first one to create a small stitch which will secure the first thread to the fabric. Continue to create small securing stitches at regular intervals along the first thread until the whole design is complete.
Stem stitch
Diagram of stem stitch
Stem stitch is a smooth outline stitch.
Pull the needle through the fabric at the base of your outline. Decide on the length of the stitch that you would like to make and pass the needle back down through the fabric leaving a loop of thread on the surface. Hold the loop to one side of the line and bring the needle back up through the fabric, in the middle of the first stitch. Let go of the loop and pull through any excess thread. Pass the needle back down through the fabric keeping your second stitch the same length as your first one. The end of your current stitch should be half a stitch length away from the end of the previous stitch. Your third stitch should start at the end of the first one, emerge in the middle of the second one and finish half a stitch length away from the end of the previous stitch. Subsequent stitches continue in the same way, emerging in the middle of the previous stitch and finishing half a stitch length away from the end of it.
Long and short stitch
Long and short shading stitch is a dense filling stitch often used for shading flower petals and leaves.
Cardoon worked entirely in long and short stitch
I usually work a split stitch outline around my shape in a light tone of thread. Although the split stitch will not be seen when the satin stitch is complete, it helps to give a neat, clear edge to the shape.
Diagram of long and short stitch row 1
Pull the needle through the fabric a stitch length away from the middle of the top edge of the shape. Take the needle over the split stitch edge and back down through the fabric, angling the needle under the outside edge of the split stitch. Bring the needle back up slightly to the side of the previous stitch, making it a little longer or shorter than the previous stitch. Take it back over the split stitch edge and down through the fabric, angling the needle towards the previous stitch to get it as close as possible. Work stitches in this way, from the middle out, varying the length of each stitch so that no stitches of the same length lie next to each other. When you reach the end of the shape, return to the middle and work the other side of the shape in the same manner.
Diagram of long and short stitch row 2 and subsequent rows
The next, and subsequent, rows of stitching will split through the previous row to create a blended effect. Return to the middle of your shape and pull the needle up through the fabric, splitting the middle stitch from the previous row. Take the needle back down through the fabric directly below, forming a straight stitch. Work from the middle out, in the same way, changing the angle and length of your stitches as you work to accommodate the shape. When you are about a third of the way down your shape, swap your thread to the mid-tone and continue in the same way, working from the middle out and splitting the stitches of the previous row. When you are two thirds of the way down your shape, swap to the dark tone of thread and continue stitching in the same way until you reach the bottom of the shape.


